


Is Moss Beneficial for the Garden? How Do You Grow Moss?

Updated: Aug 18
Bryophyte Ecology: Mosses as Indicators, Moisture Sponges & Living Accents
Mosses function as both aesthetic marvels and ecological biological indicators within the landscape. Like ants and subterranean earthworms, mosses fulfill highly specialized roles within a natural garden ecosystem.

1. Core Ecological Benefits of Mosses
Hydrological Sponges: Mosses can absorb and retain up to 20 times their dry weight in water. This continuous moisture retention stabilizes micro-climates and creates a localized water reserve for surrounding root systems.
Erosion Control: By weaving a dense, carpet-like mat over topsoil, mosses bind surface particles, shielding exposed ground from wind scouring and heavy rainfall erosion.
Atmospheric Filtration: Lacking true root systems, bryophytes absorb water and dissolved nutrients directly through their cell walls from atmospheric moisture. In doing so, they trap airborne particulate dust and sequester carbon dioxide, enhancing localized air quality.
Micro-Habitat Creation: Moss carpets offer critical micro-shelters for beneficial microorganisms, predatory mites, and small invertebrates.
Low-Maintenance Aesthetic: Moss gardens (celebrated in traditional Japanese landscape design) require zero mowing, synthetic fertilization, or chemical interventions—thriving purely on ambient shade and moisture.
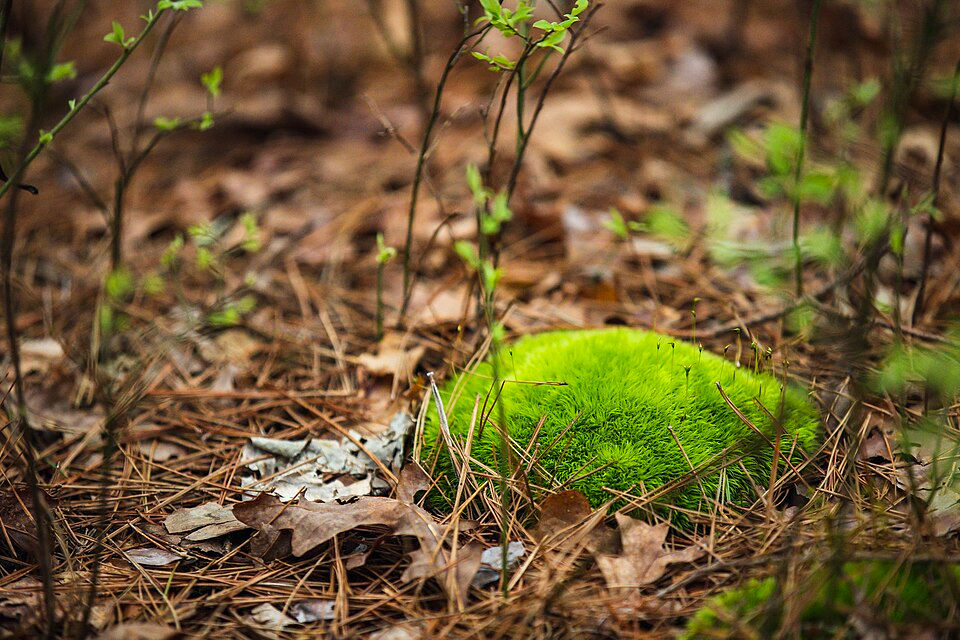
2. Moss as an Ecosystem Indicator
Mosses are non-parasitic organisms that do not harm mature plants. However, if moss begins encroaching aggressively into turfgrass areas, it serves as an indicator of underlying soil and environmental conditions rather than being the root cause itself:
Excessive Shade: Light levels are too low for turfgrass photosynthetic requirements.
Impaired Drainage: High water tables or clay compaction lead to root-zone saturation and poor gas exchange.
High Soil Acidity: Soil pH has dropped too low for optimal turf performance.
Severe Compaction: Dense, impenetrable topsoil prevents oxygen penetration.
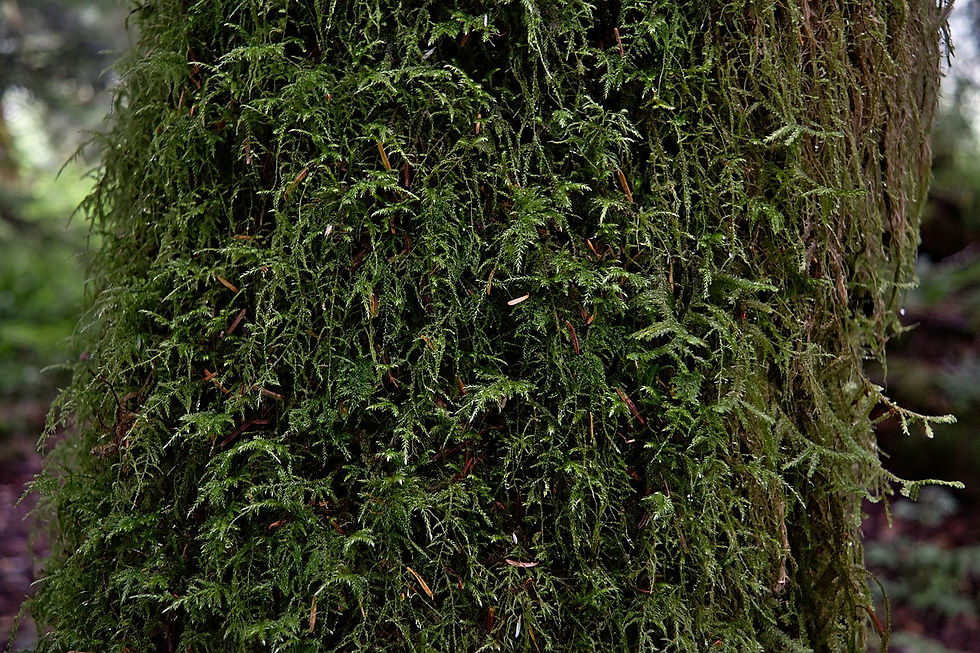
3. Hardscape & Wall Integration
When mosses establish over clay pots, flagstone pathways, or garden retaining walls, they add a timeless, ancient forest aesthetic. Furthermore, bryophyte layers shade masonry surfaces, mitigating extreme heat absorption and stabilizing thermal microclimates.
Editor's Note & Philosophy: Observing moss in the garden brings immense joy. Bringing moss-covered stones from shaded woodland areas and placing them in non-direct sunlight nooks creates a natural, serene atmosphere. Practicing ecological gardening means collaborating with nature rather than fighting it—and mosses represent one of nature's finest living tapestries.

Step-by-Step Guide: Establishing Moss Habitats
Cultivating moss relies on replicating natural forest understory dynamics. Lacking seeds, bryophytes reproduce via airborne spores and vegetative fragmentation.
1. Site Selection (The Foundation)
Mosses are selective organisms that require three foundational micro-environmental factors:
Shade or Partial Shade: Direct midday solar exposure desiccates moss cells rapidly. North-facing wall bases and dense tree canopy understories are ideal.
Consistent Ambient Moisture: Mosses cannot survive prolonged, dry heatwaves without hydration.
Compacted / Firm Substrate: Unlike traditional garden plants, mosses prefer settled, firm topsoil, clay, or stone surfaces over loose, freshly tilled earth.
2. The "Moss Slurry" Protocol (For Broad Surface Coverage)
This slurry method accelerates bryophyte establishment across broad, hard surfaces like stone walls, terracotta pots, or exposed clay banks:
Inputs & Materials:
1 handful of healthy, vibrant living moss (harvested sustainably or from your site).
2 cups of plain yogurt, buttermilk, or unsweetened kefir (the acidity and proteins act as an ideal binder and nutritional starter).
1/2 teaspoon of natural sugar.
A standard blender.
Preparation & Application:
Combine the harvested moss, acidic dairy base, and sugar into the blender.
Pulse until the mixture forms a smooth, brushable slurry.
Using a paintbrush, paint the thick slurry onto stone surfaces, pots, or compacted ground.
Outcome: The organic sugars and lactic acidity help moss fragments adhere to the surface and initiate rapid protonema growth.
3. The Direct Transplant Technique (For Soil Applications)
To establish a lush, living carpet over exposed ground:
Prepare the Substrate: Clear all weed competition, lightly scarify the top layer of soil with a hand rake, and thoroughly saturate the area.
Position the Moss Plugs: Press harvested moss mats firmly into the moist soil surface.
Anchor: Walk over or firmly press down on the transplanted mats to eliminate air pockets underneath the rhizoids.
4. Critical Post-Planting Care
Continuous Moisture (Weeks 1–6): Never allow new moss transplants to dry out completely. Mist daily—or multiple times a day during warm spells—using a light spray nozzle.
Debris Maintenance: Gently sweep away fallen tree leaves. Accumulated leaf litter blocks sunlight and causes underlying moss to decay.
Traffic Control: Keep foot traffic off the newly established zone for at least 4 to 6 weeks until rhizoid attachment is complete.
Habitat Matching Principle: Always match the transplant substrate to the origin site. Moss harvested from stone surfaces will anchor far better onto masonry, while soil-dwelling mosses thrive best when transplanted directly onto earthen beds.


Comments